In August of 2005 I was contacted by the Reagan Library and Museum in Simi Valley California about getting a scan of one of the posters in my Art Gallery section for display in their Cold War Gallery. In the e-mail they also asked if I knew where they might find a non-working Civil Defense siren they could put up as the centerpiece for the Cold War Gallery in the Air Force One Pavilion of the museum. I replied that "I just happen to have enough extra parts and that I could build one up for them." The siren was to put up for display on a pole in the gallery. Here is a step by step photo gallery of the project.

Here's a photo of the Cold War Gallery in the Air Force One Pavilion. This photo was sent to me by Todd Carb in November 2005. The Civil Defense poster scan and Thunderbolt display siren supplied by the Civil Defense Museum. As of this writing (Jan 2018) I'm not sure if they still have it on display.
|
|
Pile Of Parts That Will Make Up The Display Siren
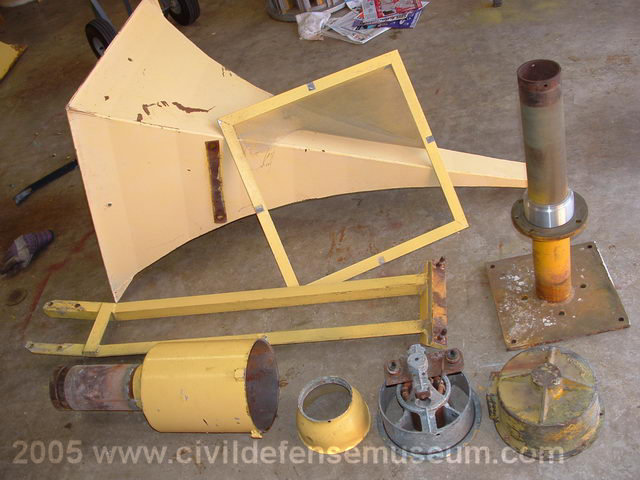
Here are all of the pieces that will make up the display siren. The siren chopper motor parts, rotator support and rotator motor plate (not pictured) are all left over unusable pieces from the Valley View job. The horn, screen, horn support and chopper motor housing are all from a pile of sirens that came from Gainesville Texas. I removed the rotator driven gear and replaced it with an aluminum sleeve (seen on the rotator support tube in the photo). The siren motor armature, rotor and windings have all been removed from the chopper motor as well. I even cut some material out of the rotator motor plate to reduce weight.
 Initial Fit Assembly Of Parts |
Sleeve In Place Of Gear |

New Rotator Box

All of the rotator box pieces I had weren't in good enough shape to use for this project so I asked my employer Regal Research and Manufacturing about making a rotator box. I had to draw-up new working drawings from parts I had so they could build the new box. The pieces were cut on a CNC laser machine and then bent to shape in the brake department. The tube on top of the box was then welded in place. The original Federal box has a seam and rolled over edge to attach the tube to the top. I was a bit nervous assembling the box after the work was done. If I had made any mistakes on my drawings they would show up while I was putting the thing together. The box assembled fine and all turned out great.
Old Parts After Media Blasting
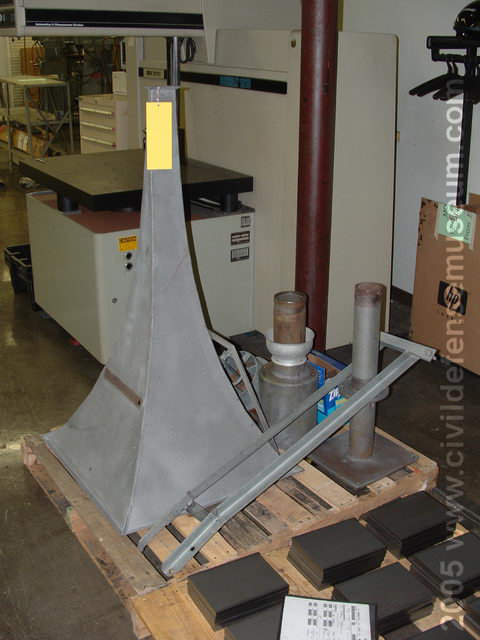
Here are all the old salvage parts after I had them media blasted. The rotator box was out to the plating shop when I took this photo. I had the parts "media" blasted but I think that the blaster must have had some sand in the mix because the finish came out far rougher than I thought it would. None of the roughness in the finish showed after powder coating though. The yellow piece hanging on the horn is a sample of the color powder coat that will be put on it. The yellow is a bit bright but it's the only color we had in stock.
 |
 |
Here are a couple of build photos. The above left photo shows how I held the chopper motor frame
and stator together for powder coating. It would sort of stay together with the motor frame taper
pins but I wanted it to get powder coated while it was together. I put metal "plumbers tape" around the
frame and bolted it to the upper bearing retainer holes.
The above right photo shows the rotator box flat sheet metal pieces before being bent on the brake.
Powder Coating The Parts
 |
 |
 |
My employer Regal Research & Mfg. has a full paint and powder coating facility so I decided it would be easier to put the color on the siren there. There was a color of yellow powder in stock that we regularly use but the yellow is a little brighter than the original color but not enough to really matter. The photo on the left shows the chopper motor frame/stator and the chopper motor tube ready to powder coat. The photo in the middle shows the horn and some misc. hardware parts after taking them out of the oven. The photo on the left shows the all the other pieces after powdering right before putting them in the oven. When powder coating is done the pieces are covered in a colored powder which is then heated in an oven to melt the powder into a layer onto the pieces being coated. Click Photos To See Larger.
Assembly Sequence
 |
 |
 |
 |
 |
 |
When assembling the siren I had to build it up on the deck of the shipping crate. The siren is completely empty of all electrical items since it's only for display. The photo down into the chopper tube shows how I replaced the original electrical collector rings with 4 aluminum blocks which are bolted in place like the collector ring unit.
All Together And Ready To Go
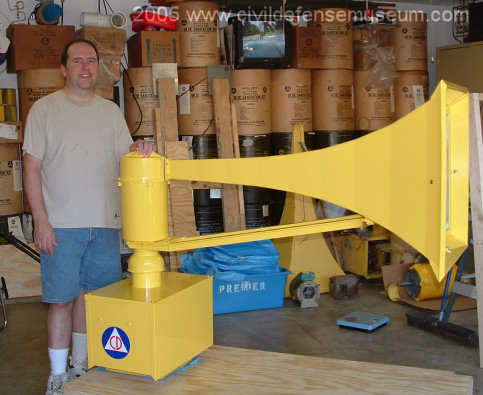
Here it is all put together and ready to build the crate box around it. It was shipped via Roadway Freight on a Monday from Garland Texas and made it to the Reagan Library three days later on Thursday. The assistant director at the museum informed me that it arrived in good shape.
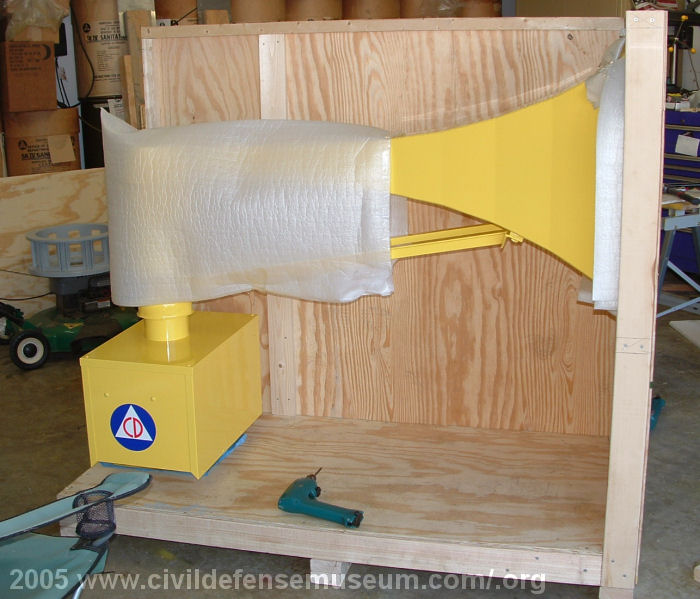
Here it is before closing up the crate.
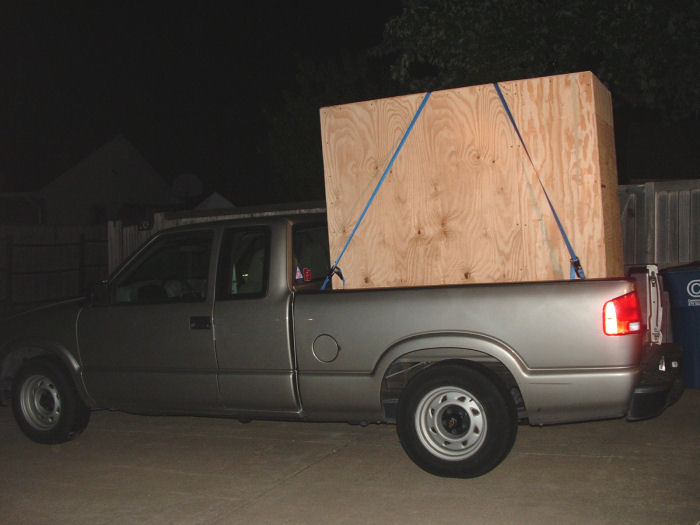
And here it is in my truck the night before taking it to be shipped.